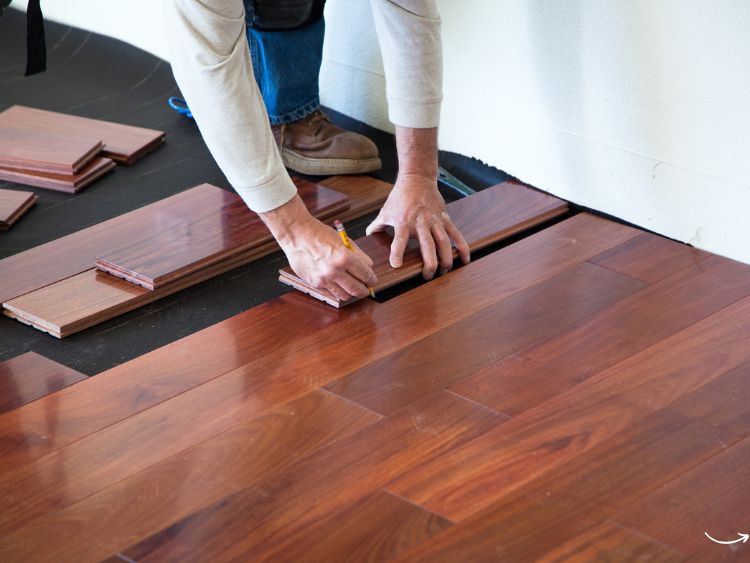
Concrete floor installation can transform any space, offering durability, versatility, and a sleek, modern look. Whether you’re considering it for your home, office, or industrial space, understanding the process and the steps involved is crucial. So, if you’re ready to dive into the world of concrete flooring, let’s get cracking!
What is Concrete Floor Installation?
Concrete floor installation is the process of preparing, pouring, and finishing a concrete slab that serves as a durable and often decorative flooring option. This process involves several steps, each requiring attention to detail and proper execution to ensure a long-lasting and visually appealing floor.
Benefits of Concrete Floors
Concrete floors offer numerous benefits, making them a popular choice for various applications. Here are some of the key advantages:
- Durability: Concrete floors are incredibly tough and resilient, able to withstand heavy traffic and harsh conditions.
- Low Maintenance: Once sealed, concrete floors require minimal upkeep compared to other flooring options.
- Versatility: Concrete can be stained, polished, or textured to achieve different looks and styles.
- Energy Efficiency: Concrete floors can help regulate indoor temperatures by absorbing and releasing heat.
Preparing for Concrete Floor Installation
Assessing the Area
Before you begin, it’s essential to assess the area where the concrete floor will be installed. This involves checking the ground’s stability, ensuring proper drainage, and removing any debris or vegetation.
Gathering Materials and Tools
Here’s a list of materials and tools you’ll need for concrete floor installation:
- Concrete mix
- Gravel or crushed stone
- Rebar or wire mesh
- Wooden forms
- Concrete mixer
- Trowels
- Bull float
- Concrete sealer
Planning and Measuring
Accurate measurements are vital for a successful installation. Measure the area, calculate the amount of concrete needed, and plan the layout, including any expansion joints.
Steps to Install a Concrete Floor
1. Preparing the Subgrade
The subgrade is the foundation for your concrete floor. It should be well-compacted and level to ensure a stable base. Spread a layer of gravel or crushed stone to improve drainage and provide additional support.
2. Installing Forms
Forms are wooden or metal frames that define the shape and boundaries of the concrete slab. Securely install the forms around the perimeter of the area, ensuring they are level and properly aligned.
3. Reinforcing the Concrete
Reinforcement is crucial for preventing cracks and improving the structural integrity of the concrete. Place rebar or wire mesh within the forms, ensuring they are elevated slightly to be positioned within the middle of the slab.
4. Mixing and Pouring Concrete
Mix the concrete according to the manufacturer’s instructions. Pour the concrete into the forms, starting from one end and working your way to the other. Use a shovel or rake to distribute the concrete evenly.
5. Screeding the Surface
Screeding involves using a long, straight board to level the surface of the wet concrete. This step removes excess concrete and ensures a smooth, even surface.
6. Floating and Troweling
After screeding, use a bull float to smooth the surface further and push down any aggregate. Once the concrete has set slightly, use a trowel to create a finer, polished finish.
7. Adding Finishing Touches
Depending on your desired finish, you can add texture, color, or patterns to the concrete surface. Stamping or staining the concrete can create a unique and decorative look.
8. Curing the Concrete
Curing is a critical step that allows the concrete to gain strength and durability. Keep the surface moist and covered for at least seven days to ensure proper curing.
9. Sealing the Concrete
Once the concrete has fully cured, apply a concrete sealer to protect the surface from stains, moisture, and wear. This step enhances the floor’s longevity and appearance.
FAQs About Concrete Floor Installation
What is the average cost of concrete floor installation?
The cost can vary widely based on factors such as the size of the area, the complexity of the design, and local labor rates. On average, you can expect to pay between $2 to $6 per square foot.
How long does it take to install a concrete floor?
The installation process typically takes a few days, but the concrete needs time to cure. The entire process, including curing, can take up to a month.
Can I install a concrete floor myself?
While it’s possible to install a concrete floor yourself, it requires specific skills and tools. Hiring a professional can ensure a higher quality finish and save you time and effort.
Are concrete floors cold?
Concrete floors can be cold, especially in cooler climates. However, they can be combined with radiant floor heating to provide warmth and comfort.
How do I maintain a concrete floor?
Maintaining a concrete floor involves regular cleaning with a broom or mop and occasional resealing to protect the surface.
Summary
Concrete floor installation is a rewarding project that can add value and aesthetic appeal to any space. By following the steps outlined above, you can achieve a durable and beautiful concrete floor that will stand the test of time. Remember to plan carefully, use the right materials, and take your time with each step to ensure the best results.
Authoritative Links
- https://www.concretenetwork.com
- https://www.thisoldhouse.com
- https://www.homedepot.com
- https://www.diynetwork.com
This article provides a comprehensive guide to concrete floor installation, ensuring you have all the information you need to embark on this project confidently. From preparation to finishing touches, each step is covered in detail, offering valuable insights and practical tips. So, roll up your sleeves and get ready to create a stunning concrete floor that will enhance your space for years to come!


