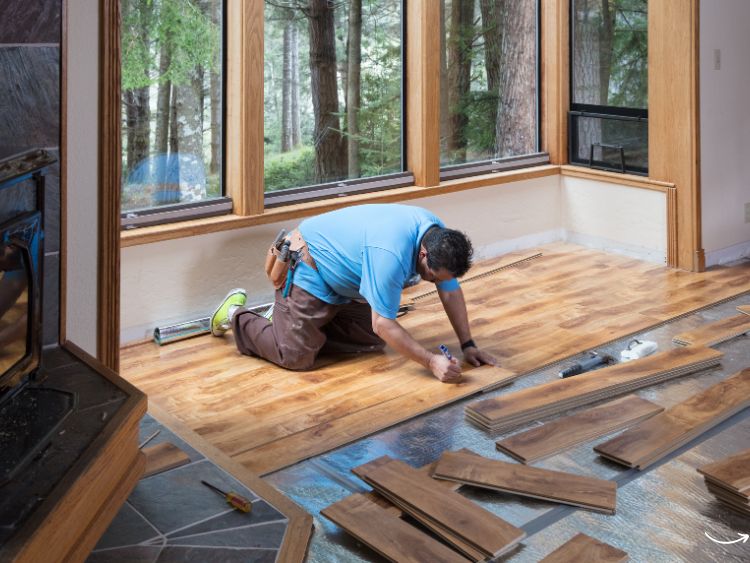
Is your garage floor starting to look like it’s seen better days? Are those unsightly cracks and stains driving you up the wall? Well, you’re in the right place! Concrete garage floor repair might seem daunting, but with a bit of know-how and elbow grease, you can restore your garage floor to its former glory. In this comprehensive guide, we’ll walk you through the entire process of repairing your concrete garage floor, step by step.
Understanding the Problem
Before diving into the repair process, it’s essential to understand what you’re dealing with. Concrete garage floors are prone to several types of damage, including cracks, spalling, and staining. Here’s a quick rundown of the common issues you might face:
Types of Concrete Damage
- Cracks: These are the most common issues and can range from hairline cracks to larger fissures.
- Spalling: This occurs when the surface of the concrete begins to flake or peel away.
- Staining: Oil, grease, and other substances can leave unsightly stains on your garage floor.
Preparing for Repair
Preparation is key to a successful concrete garage floor repair. Here’s what you need to do:
Gather Your Tools and Materials
- Concrete patching compound
- Epoxy or polyurethane crack filler
- Concrete resurfacer
- Trowel
- Wire brush
- Pressure washer
- Safety gear (gloves, goggles, mask)
Clean the Area
First things first, you need to clean the damaged area thoroughly. Use a pressure washer to remove dirt, grime, and loose debris. For stubborn stains, a wire brush can be particularly effective. Remember, a clean surface ensures better adhesion of repair materials.
Repairing Cracks
Cracks in your garage floor can be more than just an eyesore; they can lead to further damage if left unaddressed. Here’s how to fix them:
Step-by-Step Crack Repair
- Widen the Crack: Use a chisel and hammer to widen the crack slightly. This creates a better surface for the filler to adhere to.
- Clean the Crack: Remove any debris from the crack using a wire brush and vacuum.
- Apply the Filler: Fill the crack with epoxy or polyurethane crack filler, using a trowel to smooth it out.
- Let It Cure: Allow the filler to cure according to the manufacturer’s instructions.
Fixing Spalling
Spalling can make your garage floor look rough and uneven. Here’s a simple way to repair it:
Step-by-Step Spalling Repair
- Remove Loose Concrete: Use a chisel and hammer to remove any loose or flaking concrete.
- Clean the Surface: Clean the area with a pressure washer and let it dry completely.
- Apply Concrete Resurfacer: Mix the concrete resurfacer according to the instructions and apply it to the damaged area with a trowel.
- Smooth It Out: Smooth out the resurfacer and let it cure.
Removing Stains
Stains can be stubborn, but they’re not impossible to remove. Here are some tips:
Step-by-Step Stain Removal
- Identify the Stain: Determine the type of stain (oil, grease, rust, etc.) you’re dealing with.
- Use the Right Cleaner: Use a cleaner specifically designed for the type of stain you’re removing. For example, use a degreaser for oil stains.
- Scrub and Rinse: Scrub the stain with a wire brush and rinse with a pressure washer.
Preventing Future Damage
Once you’ve repaired your garage floor, it’s essential to take steps to prevent future damage. Here are some tips:
Protective Measures
- Seal the Concrete: Apply a concrete sealer to protect the surface from moisture and stains.
- Use Mats and Rugs: Place mats or rugs in high-traffic areas to protect the floor.
- Regular Cleaning: Keep your garage floor clean to prevent dirt and grime buildup.
FAQs
Q: How long does it take for concrete filler to cure? A: The curing time can vary, but most concrete fillers take 24 to 48 hours to fully cure. Always check the manufacturer’s instructions.
Q: Can I use regular cement for crack repairs? A: It’s best to use a product specifically designed for crack repair, such as epoxy or polyurethane crack filler, for better results.
Q: How often should I seal my garage floor? A: It’s recommended to reseal your garage floor every 2 to 3 years, depending on the level of wear and tear.
Conclusion
Concrete garage floor repair doesn’t have to be a nightmare. With the right tools, materials, and a bit of patience, you can make your garage floor look as good as new. Whether you’re dealing with cracks, spalling, or stains, the steps outlined in this guide will help you tackle the problem head-on. Remember, regular maintenance and protective measures can go a long way in keeping your garage floor in top condition.
Authoritative Links
For more information on concrete repair and maintenance, check out these resources:
- https://www.concretenetwork.com
- https://www.familyhandyman.com
- https://www.thisoldhouse.com
- https://www.homedepot.com
By following this comprehensive guide, you’re well on your way to a pristine and durable garage floor. Happy repairing!


